Deploying an ASP.NET Core 8.0 Application
Starting from ASP.NET Core 8.0 Hosting, we support multiple domains and multiple ASP.NET Core 8.0 Applications in ASP.NET Core 8.0 hosting. In this article we will show you how to deploy your asp.net core 8.0 application to our cloud platform.
Precondition:
- Enabled FTP Server in client panel;
- Enabled Shell/SSH in client panel;
- Installed FileZilla client or other FTP client on your local PC;
- Your must have an asp.net core 8.0 project on your local PC.
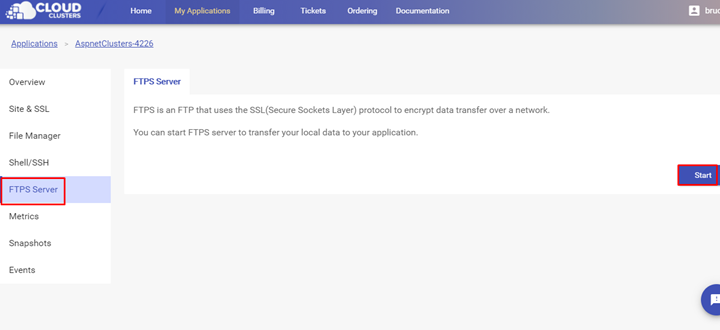
1. Enable FTP Server in Client Panel
Please refer to Transferring Data via FTPS to enable FTP Server and transfer your files via Filezilla client.
2. Transfer your asp.net core 8.0 project files to cloud platform via FileZilla client
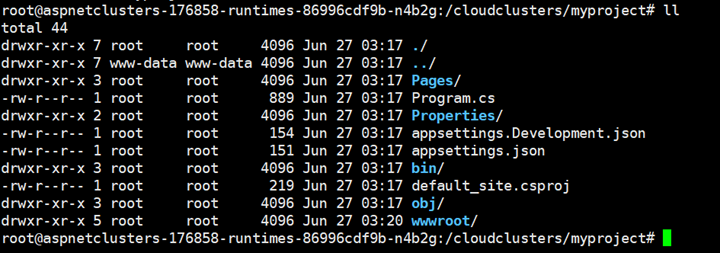
2.1 Create a new directory under /cloudclusters
We have already deployed an asp.net core 8.0 demo project under /cloudclusters/default_site. You can create a new directory under /cloudclusters for the new asp.net core 8.0 project.
# cd /cloudclusters/ && mkdir myproject
2.2 Transfer your asp.net core 8.0 project files into new folder
Then please follow up Transferring Data via FTPS to upload your asp.net core 8.0 project files into /cloudclusters/myproject.
3. Start up your asp.net core 8.0 project
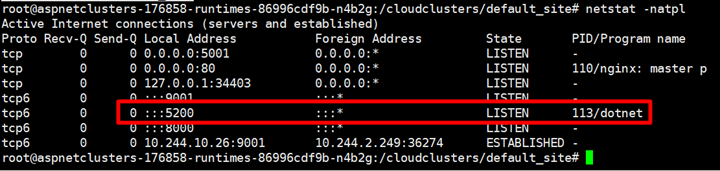
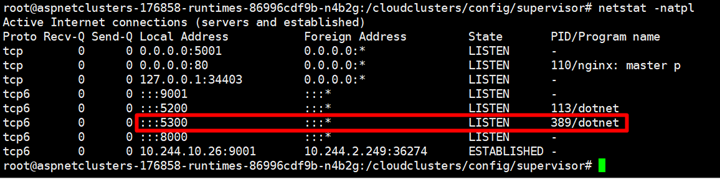
As there have a demo project under /cloudclusters/default_site and the demo project is listening on 5200. You can let your asp.net core 8.0 project listening on 5300 or other port. To check the listening port for demo project:
# netstat –natpl
3.1 Make a start script for asp.net core 8.0 project
Under /cloudclusters/config/aspnet, you can copy a start script from startup.sh
# cd /cloudclusters/config/aspnet
# cp startup.sh myproject.sh
Then modify myproject.sh
#vim myproject.sh
You have to define the start .dll file and urls in the start script. The listening port is defined in urls.

3.2 Start asp.net core 8.0 project by supervisor
We are using supervisor to manage the asp.net core 8.0 applications. Under /cloudclusters/config/supervisor, copy a new file from demo.conf
# cd /cloudclusters/config/supervisor
# cp demo.conf myproject.conf
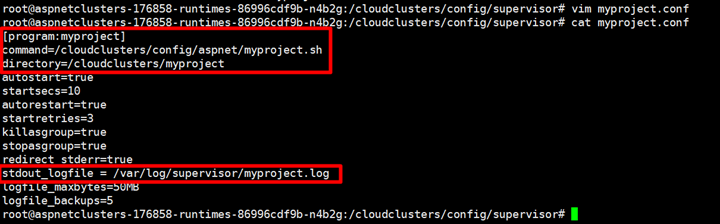
 Modify myproject.conf
# vim myproject.conf
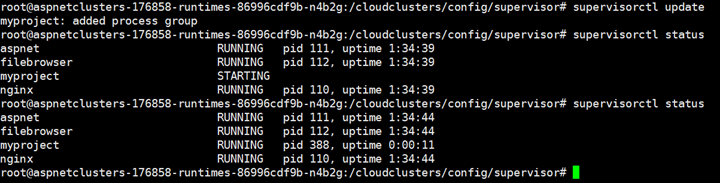
 Update supervisor to make it working.
# supervisorctl update
# supervisorctl status
 Check the listening port:
4. Update nginx to make the asp.net core 8.0 project accessable
We are using nginx as a web server to reverse proxy for the asp.net core 8.0 project. There have two methods to access your project. You can use path or your domain to access the asp.net core 8.0 project.
4.1 Using path to access the asp.net core 8.0 project with the default domain
If you do not have a domain then you can use any path to access the asp.net core 8.0 project with the default domain. Modify default.conf under /cloudclusters/config/nginx. There we use “/my” as path as example. You can use any path excepting “/”.
# cd  /cloudclusters/config/nginx
# vim default.conf
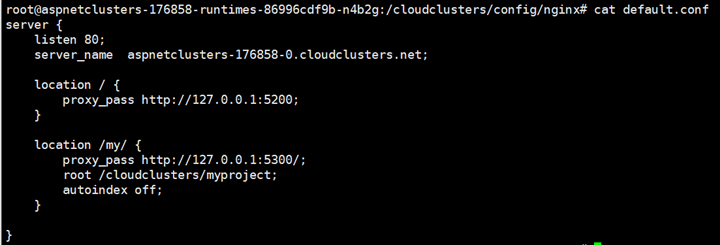
Example for default.conf
server {
    listen 80;
    server_name aspnetclusters-188*80-0.cloudclusters.net;

    location / {
        proxy_pass http://127.0.0.1:5200$request_uri;
        root /cloudclusters/default_site;
        proxy_set_header Host $host;
        proxy_set_header X-Real-IP $remote_addr;
        proxy_set_header X-Forwarded-For $proxy_add_x_forwarded_for;
        proxy_set_header X-Forwarded-Proto $scheme;
        proxy_buffering off;
    }

    location /my {
        proxy_pass http://127.0.0.1:5300$request_uri;
        root /cloudclusters/myproject;
        proxy_set_header Host $host;
        proxy_set_header X-Real-IP $remote_addr;
        proxy_set_header X-Forwarded-For $proxy_add_x_forwarded_for;
        proxy_set_header X-Forwarded-Proto $scheme;
        proxy_buffering off;
    }
}
 Restart nginx.
# supervisorctl restart nginx
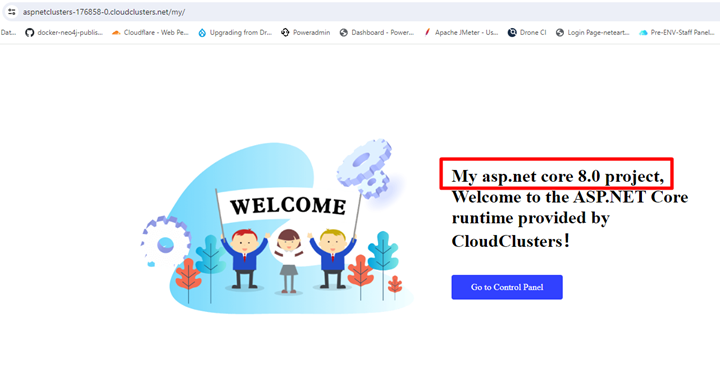
 Access the the asp.net core 8.0 project with the default domain and path.
Enter https://aspnetclusters-176858-0.cloudclusters.net/my/ in browser.
Access the the asp.net core 8.0 project with the default domain and path.
Enter https://aspnetclusters-176858-0.cloudclusters.net/my/ in browser.
4.2 Using your domain to access the asp.net core 8.0 project.
If you have your own domain, then you can use your domain name to access your asp.net core 8.0 project.
Add your domain to client panel. Please also update DNS records for your domain and let it pointing to the IP address we provided in client panel.
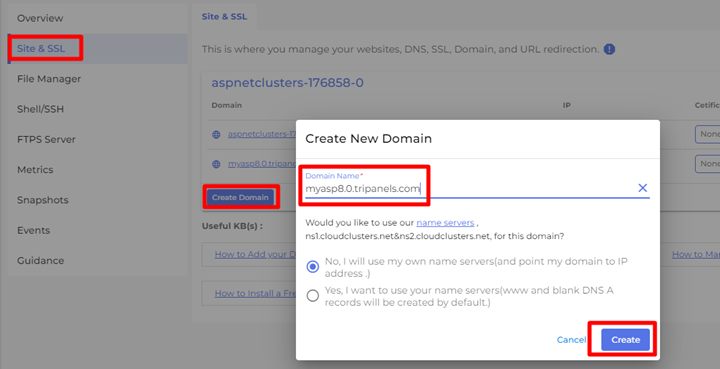
For example, if we add domain name myasp8.0.tripanels.com to client panel: Then please make a new file like below:
# cd /cloudclusters/config/nginx
# cp default.conf myproject.conf
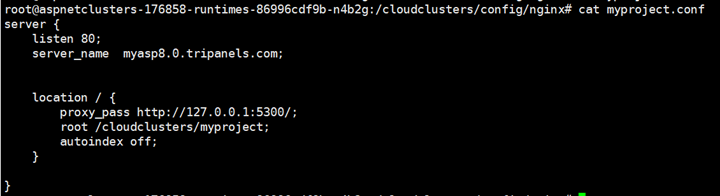
# vim myproject.conf
Example for myproject.conf
server {
    listen 80;
    server_name myasp8.0.tripanels.com;

    location / {
        proxy_pass http://127.0.0.1:5300$request_uri;
        root /cloudclusters/myproject;
        proxy_set_header Host $host;
        proxy_set_header X-Real-IP $remote_addr;
        proxy_set_header X-Forwarded-For $proxy_add_x_forwarded_for;
        proxy_set_header X-Forwarded-Proto $scheme;
        proxy_buffering off;
    }
}
 Restart nginx:

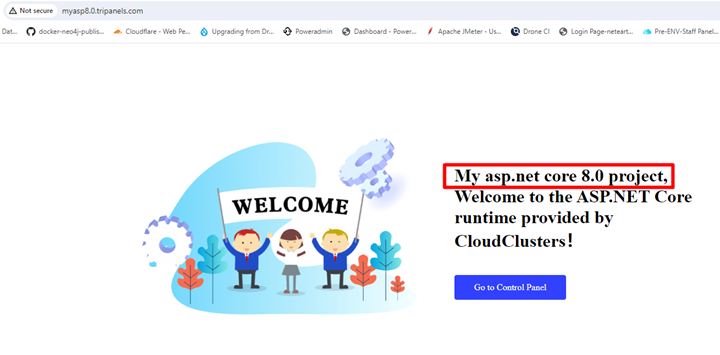
Use the domain to access the asp.net core 8.0 project.
Enter URL: http://myasp8.0.tripanels.com in browser.